
Without Filter(s)
Travel is becoming harder these days, especially for the globe-trotting photographer. Packed planes, clients that want you to fly coach, lessening overhead space in addition to many airlines charging for what was once a given on flights, that space over your seat in which to place your gear.
Over the past years, I’ve been working on reducing my “footprint” of gear, you can read my blog piece, “Traveling Light” to further explore that idea of minimizing to maximize.
Having said that, there are some things that are always in my roll-aboard, and quickly switch to my camera bag when in the field: my Singh-Ray camera filters.

With Filter(s)
In Denver, where I live, I used to keep my camera repair shop in business with the amount of gear I’d drop off for repair or cleaning. I’ve broken so much gear over the years, I can tell you within $50.00 for the repair, based on the impact sound of camera or lens hitting the ground. Nothing to brag about, just reality of carrying gear on remote assignments.
Many years ago I went to my regular camera repair guy at the shop, complaining that my new 20mm f2.8 lens was soft. He took a look at lens and filter, walked me over to a test bench, and showed me how the cheap filter I was using (primarily for protection, I still do that today) was deteriorating the quality of the image. It wasn’t a situation of having to squint my eyes and imagine I could see that degradation, it was overtly obvious. Filter on, the lens was soft, filter off, it was sharp as could be. Lesson learned here, there is no free lunch.

Without Polarizer
I immediately started using better quality filters on my lenses, and I remember looking at Sing-Ray filters and envying those jewels. A bit more costly, but I figured I was good enough with my good-quality filters.
As all things seem to go, eventually I got around to trying a friend’s Singh-Ray filter: the build quality, the lack of visual interference, the quality of the image were spectacular — I was hooked.

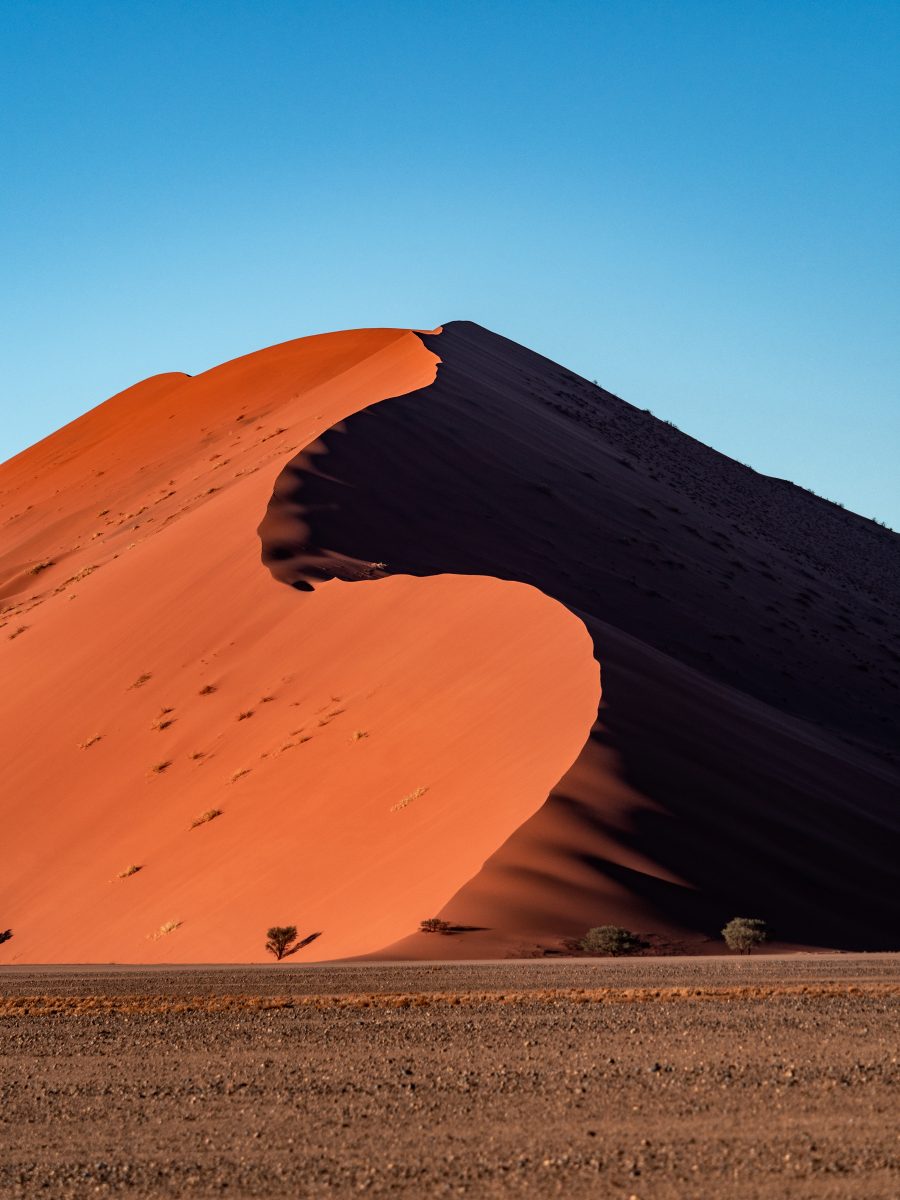
With Polarizer
Over those years, when on an assignment for National Geographic, or on a corporate shoot, or shooting for stock, I always had a Singh-Ray on my lens.
In the past few years, I’ve used the Singh-Ray Hi-Lux Filters on all my lenses, in place of a standard UV filter. The Singh Ray uses the same glass NASA uses, so there is no degradation of the image as it passes through the filter. As I mentioned earlier, I tend to be a bit rough on gear, and with the huge amount of international travel I do, primarily for National Geographic Expeditions or for my own FirstLight Workshops, I can’t chance having failure in the field. The extra protection alone from the Hi-Lux is worth consideration, but it has another great feature: the ever-so-slight warming across the spectrum you get with this filter.

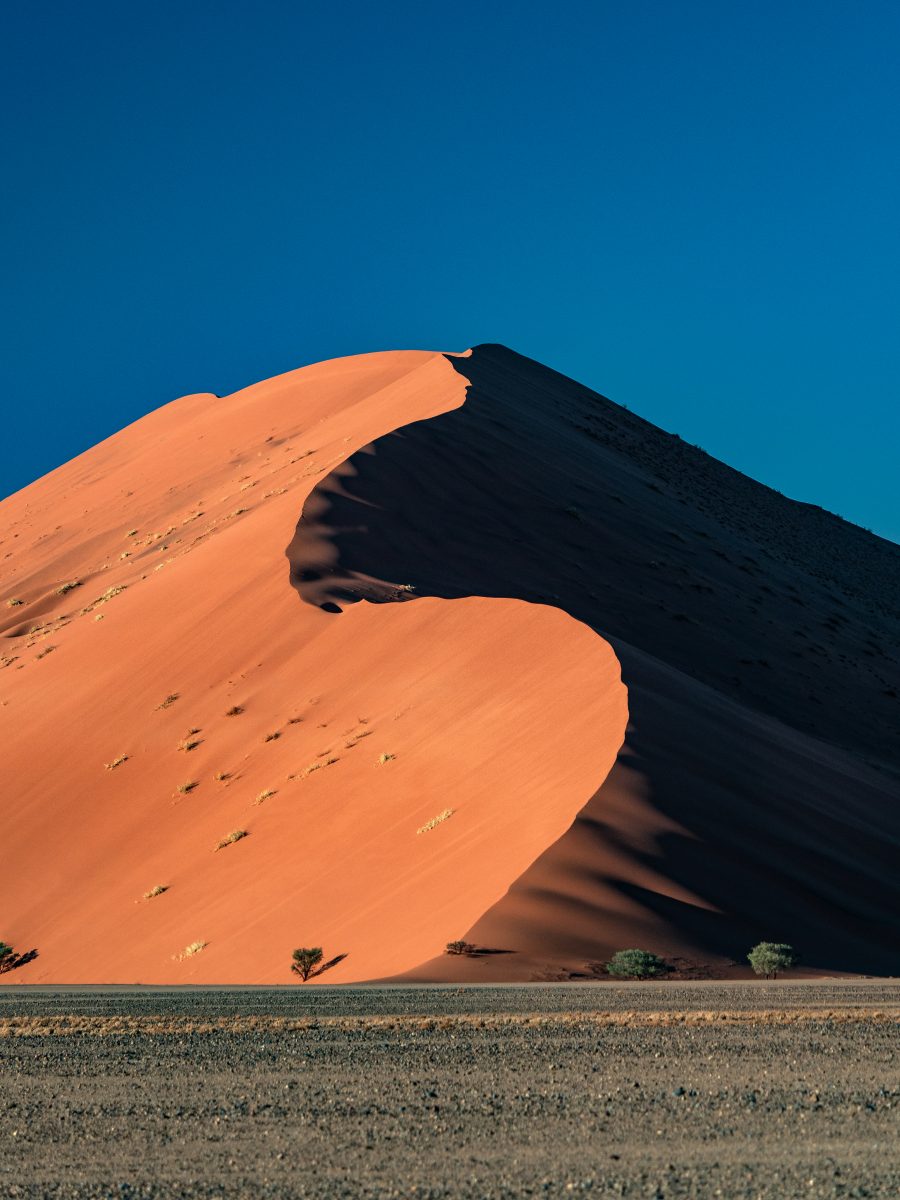
Without Polarizer
In film days, I’d often use an 81A filter on my lenses in place of a UV, as I liked the tiny amount of warming it would provide to my Kodachrome or Fuji Velvia images (I know, some of you are asking why you’d want to pump up color on Velvia, personal taste). With the Hi-Lux I find a much more pleasing subtle enhancement across the palette, a little less than the 81A. I could try to achieve this is post-processing, but being slightly “old school,” I prefer to accomplish as much as possible on the shooting end. I think this still allows the photographer in me to control the image, not “fix it in post” thinking.

With Polarizer
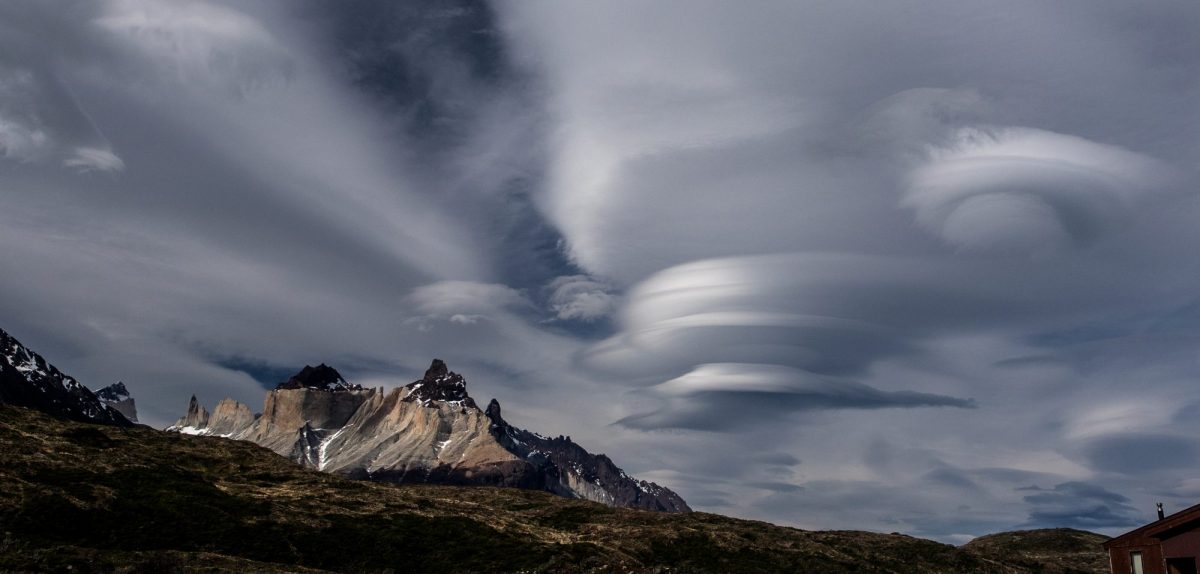
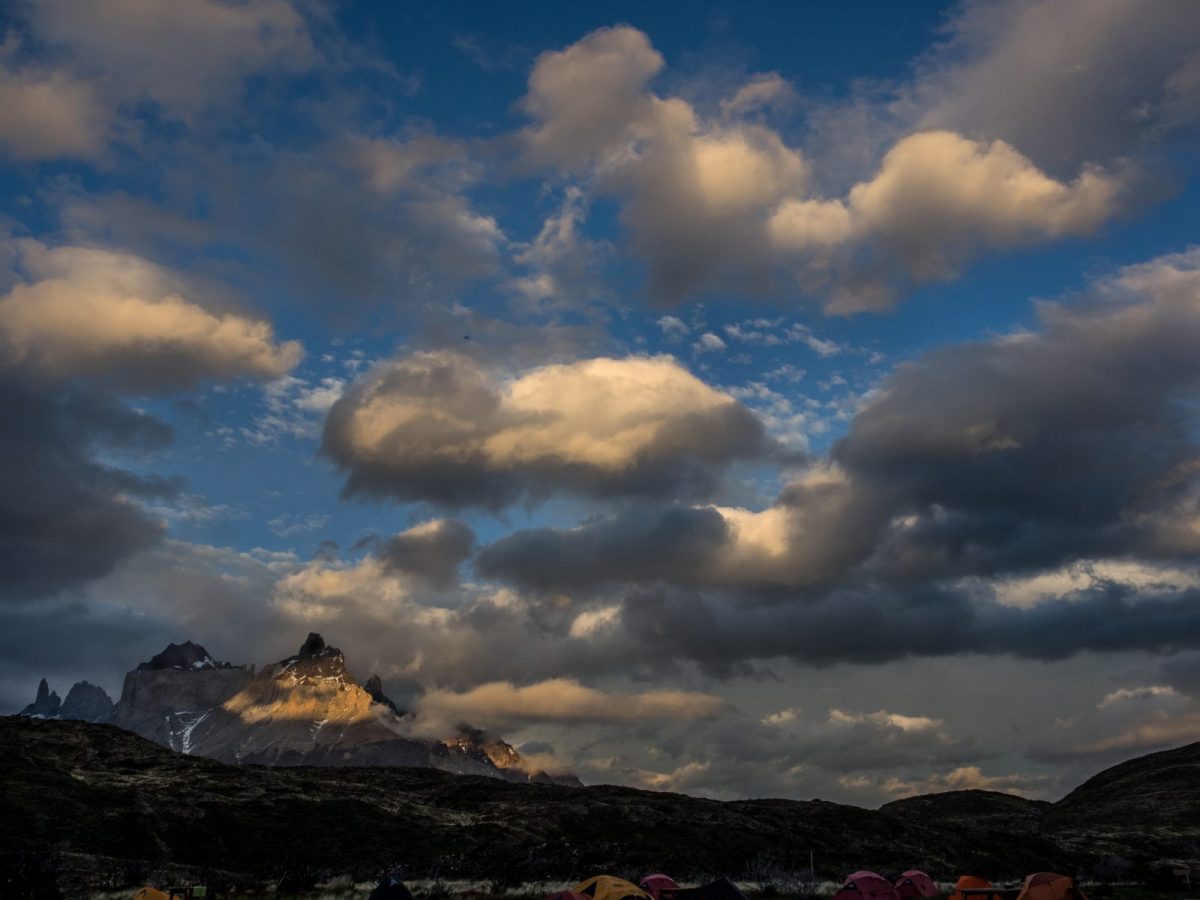
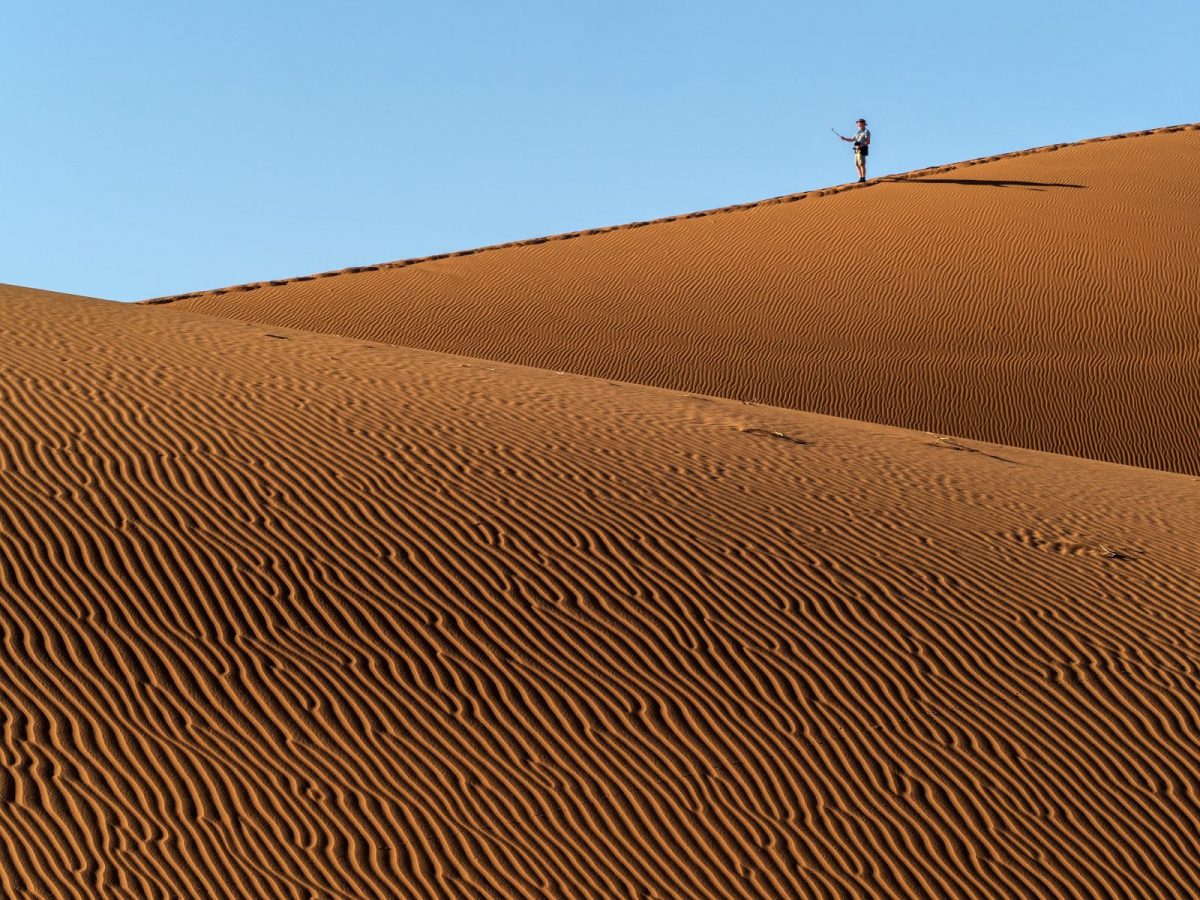
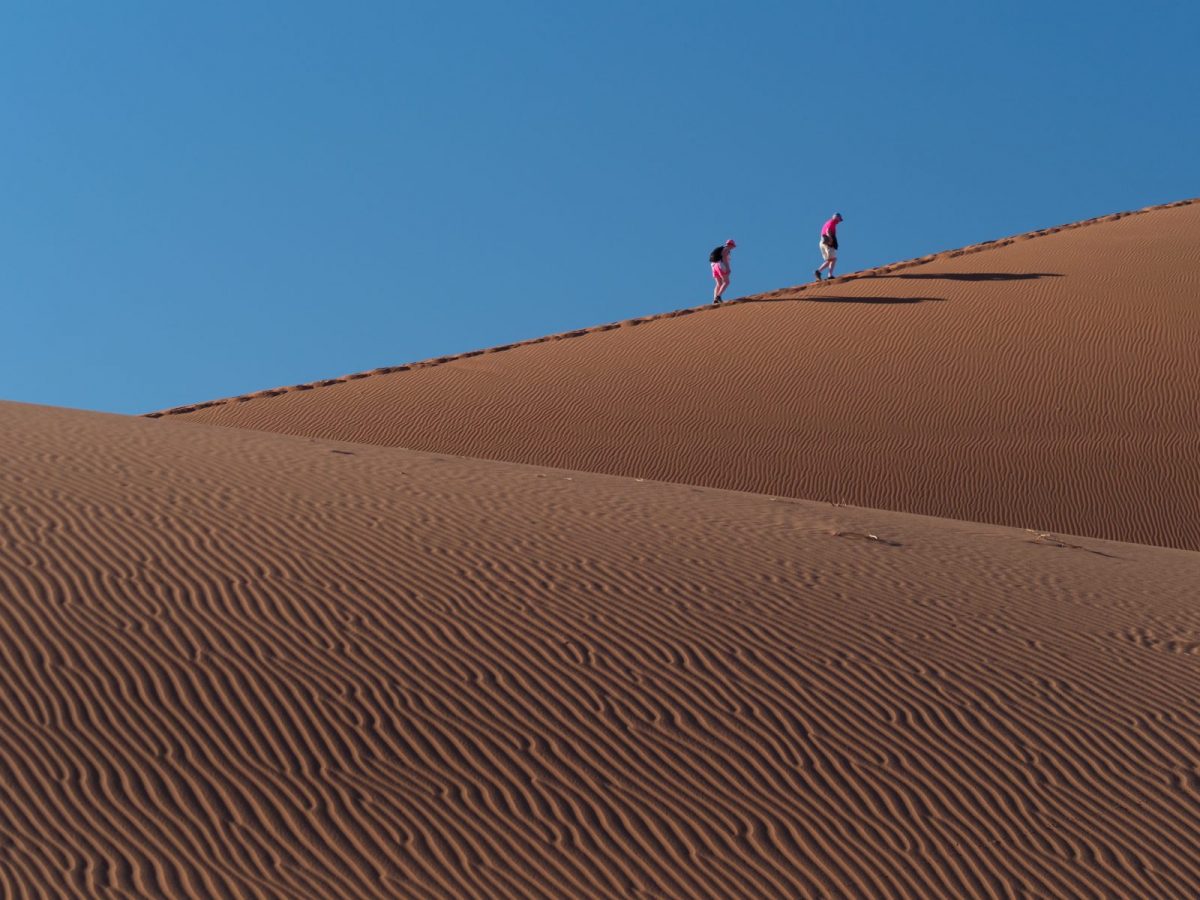
So, all lenses have a Hi-Lux, what else do I carry? The other two are the Singh-Ray LB Color Combo Polarizer, and the Vari-ND. I’ll use the Polarizer on those occasions when I want deepen the richness of the sky (remember, to accomplish this, you need to be pointing the camera at a 90 degree offset from the sun. This filter also works on enhancing other colors. I’m careful where and when I use it, but it is invaluable for those correct conditions.
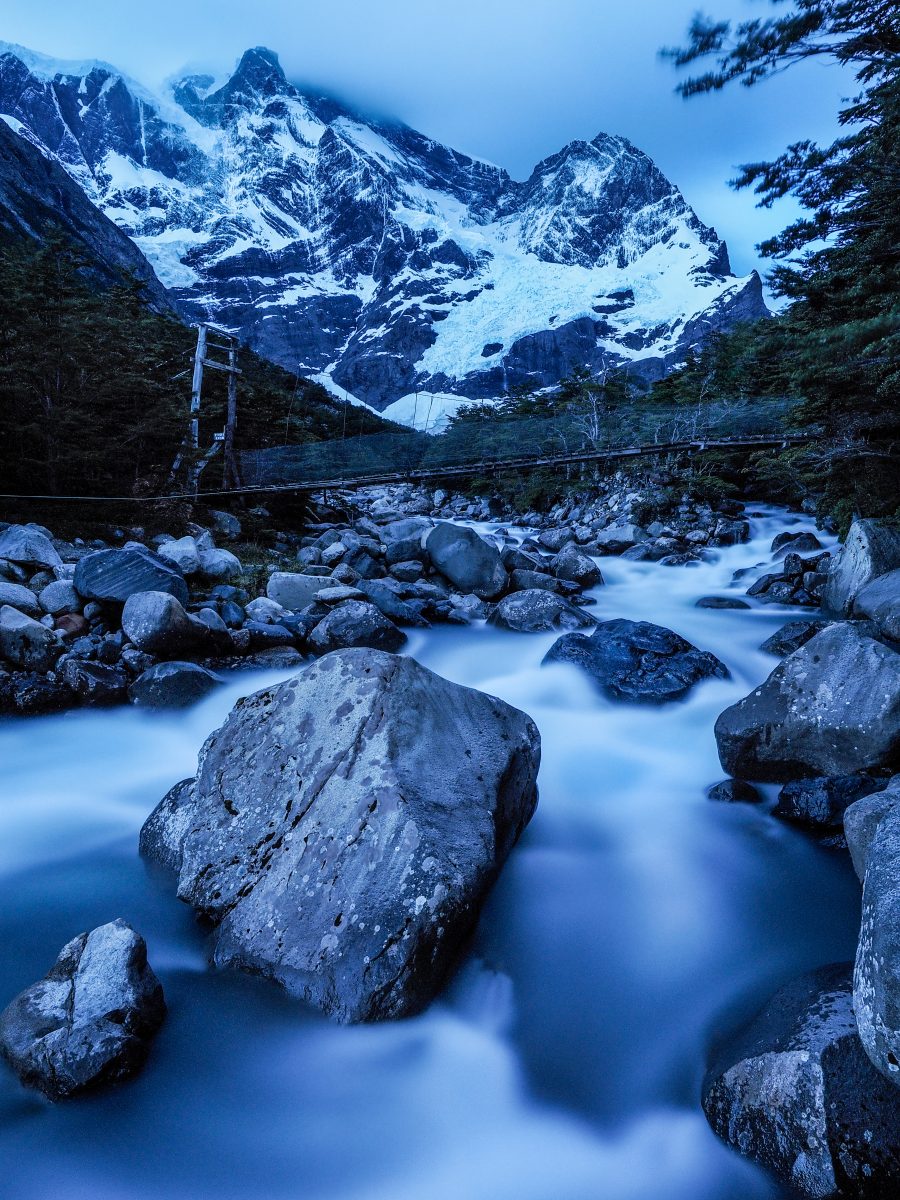
The Vari-ND is for very special applications: often where there is simply too much light to achieve a long exposure, or to get a higher aperture setting. Many times photographers will be in those shooting conditions where you’d love to enhance the motion of a stream flowing by, but you are at minimal ISO, stopped down all the way, and still getting a shutter speed that simply won’t give you the effect you want. Enter the Vari-ND. Attached to the lens of choice, you simply turn the filter to the desired amount of light reduction, from 2-8 stops.

With Polarizer
Plus, the Vari-ND is color neutral. This is simply NOT the case with cheaper filters, as I found through trial and error. And, for videographers, this can be a huge plus, as it’s beneficial to have consistent color saturation in your clips.
A couple of hints here:
- You’re in tripod territory here. Try to set everything up before darkness overwhelms your ability to see.
- Flashlights are helpful here. I always carry a headlamp that not only has a strong beam setting, but also allows me to reduce the strength of the light. Plus, mine also has a red light setting, which doesn’t destroy your night vision. Nothing worse than spending a significant amount of time getting your eyes totally adjusted, only to have it ruined by turning on your million-candlepower flamethrower flashlight. Red is good.
- Try to set your camera and tripod up while there is still some light, when it gets dark, all those controls you swore were second-nature in finding all of a sudden change places.
- Go to manual focus when shooting with the Vari-ND. In low light, when you use the filter in that 3+ stops reduction, you can quickly lose the image in the viewfinder: it’s amazing how much light this removes.