This area is my home and my part of the natural world, and I never feel a lack of impressive subjects. Perhaps my favorite subject is the sun itself, especially when I’m shooting at sunrise or sunset. I love to shoot directly at the sun to achieve dramatic lighting effects. I’ve found that two kinds of Singh-Ray filters are essential for such photos — my Galen Rowell ND Grads and my LB Neutral Polarizer.
Whenever I’m shooting at the sun during a sunrise or sunset, the sky is usually much brighter than the foreground subjects. Most experienced photographers know their ND Grads are great tools for balancing the dynamic range of this type of scene. I carry 2-stop and 3-stop hard-step ND Grads for these scenarios. I prefer using an ND Grad to maintain natural sky gradations, as opposed to allowing HDR software to alter these gradations. To select the proper strength of an ND Grad, I meter the sky and land separately, then select a strength of GND that gives me about 2 f-stops (sometimes 1 stop) difference between the sky and land. So if there is a 5-stop difference between the sky and land, I use the 3-stop GND to balance the scene.
The image above, of Schoodic Point in Acadia Nation Park, Maine, required a 2-stop ND Grad filter to balance the light between sky and water, and the darker rocks in the bottom third of the photo. A polarizing filter allowed me to dial in the ideal amount of reflection on the rocks.
One common mistake I see other photographers making with ND Grads is using too much filtration. In nature, it’s not physically possible to have the land or water in the foreground brighter than the sky. Using too much filtration causes an unnatural final image where the sky is darker than the land.
ND Grad filters are available in either hard or soft-step gradient patterns. While I own and use both types, I generally prefer to use hard-step filters. Rather than use a filter holder, I hand-hold the filter. For a scene where I want the filter’s edge to be softened a bit, I just move the it up and down slightly during the exposure.
A 3-stop hard-step ND Grad was perfect for the image of Skannatati Lake in Harriman State Park (NY), due to the perfectly straight horizon line.
Less obvious than ND Grads for photos shooting directly into the sun is the use of a polarizing filter. We are taught that a polarizing filter has the most effect when pointing 90 degrees away from the sun. So why use a polarizing filter when shooting directly at the sun? Anytime there are clouds in the sky near the sun, the water droplets in the clouds will scatter the light, which might improve or worsen the quality of light for the scene. This scattering light can affect the color saturation of the light, and also the sharpness of the scene. A polarizing filter is perfect for these situations, allowing the photographer to precisely control the quality of the light.
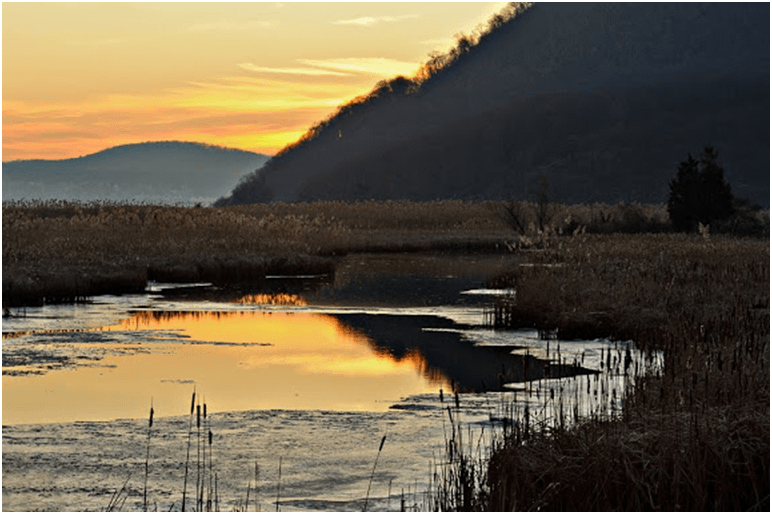
This image of Iona Marsh in Bear Mountain State Park, illustrates how well a Singh-Ray Polarizer can manage the appearance of the cloudy and hazy sky, while also managing the reflection off the thin ice of the marsh — despite the fact that the sun is hidden just behind the sloping mountain. So when heading out for a sunrise or sunset session, I always make sure my Singh-Ray ND Grads and Polarizer are at my side.


