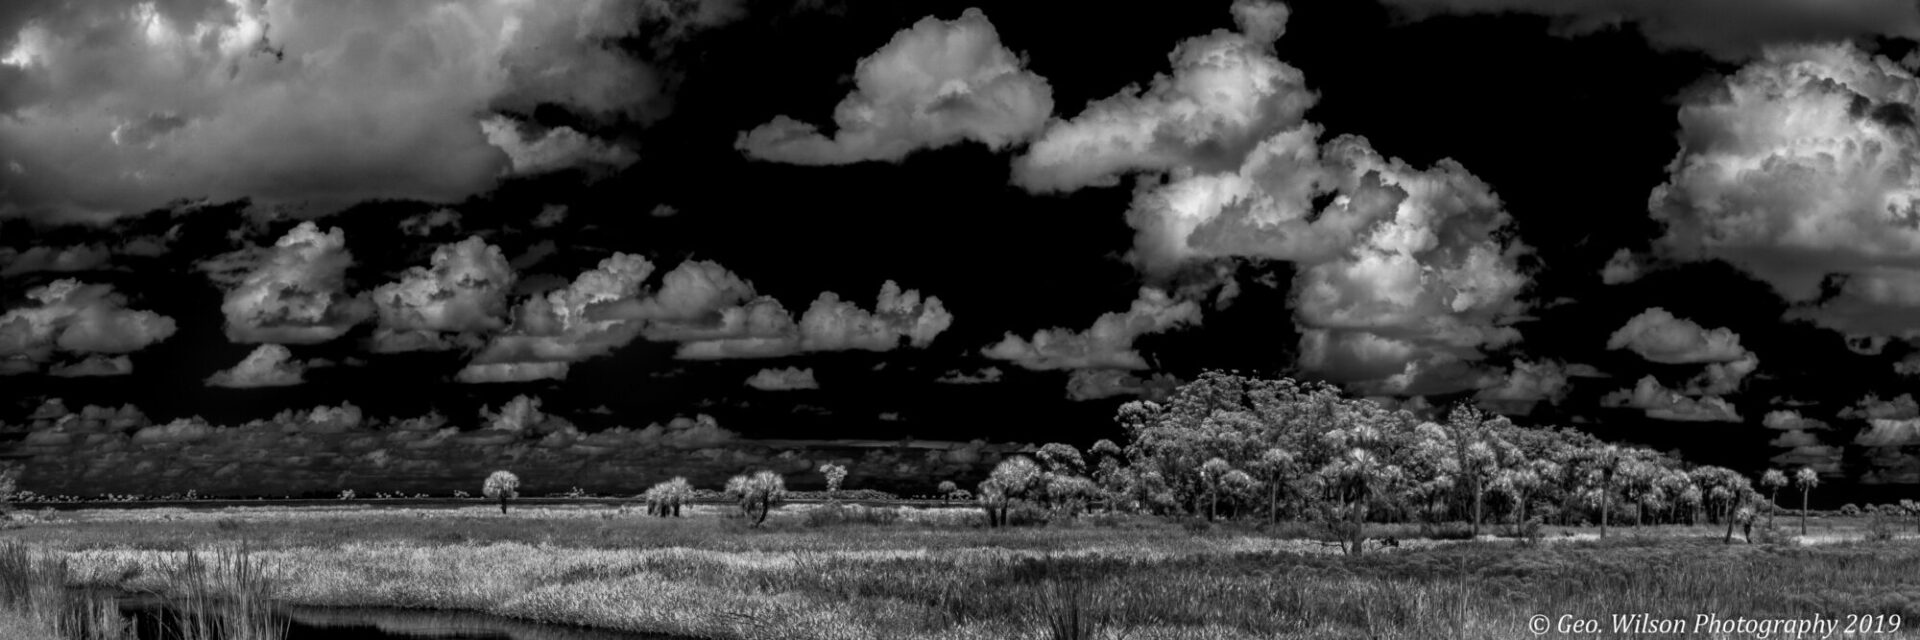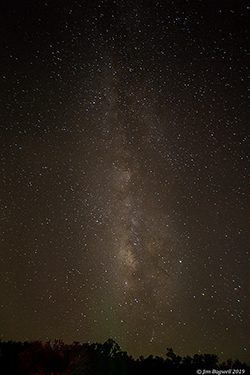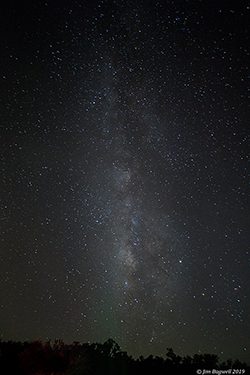
Situated about 100 miles (driving miles) from Orlando, FL is Kissimmee Prairie Preserve State Park. It is a favorite photography location of mine for my black and white panoramic images. The Preserve is also one of just two International Dark Sky Places in the Sunshine State – the other, Big Cypress National Preserve, sits further south near the River of Grass – the Florida Everglades. Overall, there are 120 recognized International Dark Sky Places worldwide.
The International Dark Sky Places Program was founded in 2001 with a goal to encourage communities, parks and protected areas around the world to preserve and protect dark sky sites through responsible lighting polices and public education.
The late spring and warm summer months provide towering clouds and thunderstorms making for dramatic skies above the grassy dry prairie dotted with hammocks. The fall and winter, having clear skies and crisp nights, invite me for my workshops teaching people how to photograph the Milky Way, our home in the cosmos.
This great expanse of dry prairie grasslands is also home to a myriad of species, many of which are threatened and endangered. It is a common occurrence for me to observe white tailed deer, crested caracara, alligators and burrowing owls. Often when standing with my camera set on its tripod, these animals make an appearance, enhancing my own experiences and memories of the prairie.
The non-migratory Florida Grasshopper Sparrow, perhaps the rarest bird in North America, is found only in the dry prairies of south-central Florida. The dry prairie expanse in Florida has declined by 90% as it was converted for agricultural use. This decline had a downstream affect – with the loss of habitat, came the loss of population in the grasshopper sparrow. This species is measured by the counts of male birds, who sing, thus they can be heard more readily than seen. In 2018, only 50 male singing birds were counted, demonstrating that a very small population remains. The 53,000 acres of the Kissimmee Prairie Preserve State Park is one of the last strongholds for this imperiled species.
Internationally recognized for the lack of light pollution, the skies above the prairie are exceptionally dark making visual observation of stars, planets and the Milky Way’s gas clouds with the naked eye or binoculars possible. It is these conditions that make my night sky photography workshops possible.
On a late September night, long after the moon had dipped below the horizon, we gathered for a recent Milky Way workshop. Singh Ray Filters – from Arcadia, FL – joined us with several of their new Astro Filters for us to try.
Singh-Ray’s Astro-Vision Filter is designed to help remove the unwanted light pollution that often comes from the use of street lights and other ambient lights, which can cause issues when shooting in close proximity to cities. Looking North from the various camping areas and the telescope pads, the yellow glow of civilization can be seen. This filter was a natural choice for us to use in capturing color correct images before doing any post processing. I am an advocate of capturing in the camera and not creating in the computer both in my own work and how I teach others to develop their own photography skills.


The process of photographing the Milky Way is far from complicated, but it begins with locating the darkest sky possible and then working after the moon has set below the horizon or on a night with a new moon. The moon has a 28 cycle from waxing to a full moon and then waning back to a new moon – this presents a fair number of opportunities throughout the year to try this type of photography.
One of the first things you should know about photographing the Milky Way is that there is also a “Milky Way season” — this is an optimal time to shoot. In the Northern Hemisphere, the Milky Way season begins at the end of January. That’s when the Galactic Center – the brightest area of the Milky Way – starts to be visible above the horizon. By the end of October, the Galactic Center will have dipped back below the horizon again for a few months.
So, as you can see, planning is very important – but being properly equipped is not be overlooked. However, you will not need a lot of expensive gear – just the right gear. I first jumped into Star Trails photography while a teenager in Boston – yes, talk about light pollution! But it was a start!! I had a locking cable release, a film camera and a tripod. I timed my shots with the second hand on my wrist watch.
First, you will need a camera with the following options: Manual focus option on the camera, a “Bulb” setting. This allows you to hold open the shutter longer than 30” and Manual Exposure Mode .
Next is the intervalometer – This is a fancy term for a release with a timer. There is no one size fits all and some cameras are not compatible with them. If you have just a cabled release – bring a watch with a second hand – or time things with your phone. More importantly, the intervalometer allows the shutter to be tripped while keeping the camera perfectly still.
Wide Angle Lens – In theory you could use any lens you want but the general rule of thumb for Star Trails photography is to use a wider field of view lens (35mm or wider) to capture more of the nighttime sky. I typically work between 24mm and 85mm depending on the “vision” I have at that particular moment. Knowing the focal length of the lens is how the proper shutter speed is determined. Lenses at 85mm and longer can be helpful in isolating specific constellations as several of my students have done.
Tripod – While most any tripod will work; long exposures will really benefit from a heavier sturdy tripod. I use a SLIK 700 DX Pro or a Manfrotto 290. We can always weight your tripod with a heavy bag, sandbag, or something like that for a bit more stability.
That was the basics of the camera gear, now let’s talk about other stuff and comfort. When I am overnighting at Kissimmee Prairie Preserve State Park, I usually reserve a campsite or telescope pad. I keep an air mattress in the back of my SUV for napping as I need to. But more importantly, I have both an electrical and water hook up. This means I can charge batteries, which do discharge quickly during long exposures. As for batteries, I carry at least three and a small flashlight. The flashlight (I use a headlamp) has a red light – this feature does not cause the eye to dilate and readjust to the darkness – it is also a courtesy to any stargazers or photographers out there with you.
Memory cards – of course, make sure you have enough. In the fall and winter months bring layers of warm clothing and something in which to sit comfortably. A reclining outdoor chair or even a camping pad (if you want to lie down) are good options. Remember you may be outdoors in the pitch dark for hours at a time and it can get really cold, really fast – even in Florida. Don’t skimp on warming comforts under the circumstances.
Lastly for my own creature comforts I always have a cooler packed with sandwiches, snacks, water and so forth. I also have a Constellation Map App on my phone.
Once you have your camera set up, the Milky Way extends across the night sky from the South to the North will moving through the sky as our earth rotates on its axis.
Using the RAW setting on your camera will allow you to capture all of the important details in the image.
Turn off your auto focus – it will not work well shooting the dark night sky. Also, being on a tripod, you will not need image stabilization, so you can turn that of as well.
As for the settings, I have everyone start at ISO 800 with the aperture set as wide as possible (f2.8, f3.5 or similar). As for the shutter speed – that has a relationship with the focal length of the lens. To determine a shutter speed that will not allow the stars to elongate during the exposure, divide the number 500 by the focal length. For example, if you are using a 28mm lens on your camera divide 500 by 28 (500/28 = 17.85). This yields a result of 17.85 seconds, so I just round up to the closest duration on the camera – 20 seconds. To make the image brighter or darker, you will adjust only the ISO.
