I became interested in landscape photography in 1997, when I was on Vancouver Island on the west coast of Canada. I was in school learning about infrared film. I had done a bit of work with it, but I was eager to see what it would do in the lush forests of British Columbia.
My mother and I traveled to the island for Christmas break and I spent some time shooting photos in various places. Of course, this was infrared film back then, so my shooting was limited by my student’s budget and experience. I brought one roll of Kodak infrared black and white film, taking care to keep it frozen until a few hours before I was to use it. On arriving at Cathedral Grove, I loaded the film into my camera after climbing into the trunk of our car. Keep in mind, this was a 19-year-old brain at work; and yes, I should have just used a jacket or dark box, but I got into the trunk, closed the lid, and loaded the film. I then shot the first landscape images I was really proud of, and I still like them today.
I am still drawn to infrared images. Not long ago, I began looking into how I could continue shooting infrared in this digital age. Should I buy a film camera, should I get a digital camera body converted to IR, or should I try using a filter? Buying the Singh-Ray I-Ray was the simplest solution for me, and I have no regrets.
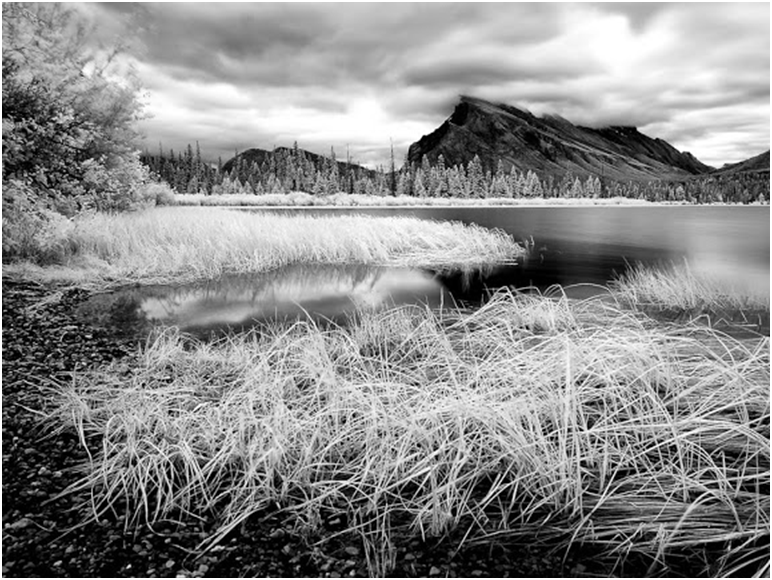
A major advantage that many people may not think about is how this filter allows me to keep shooting landscapes even when the light may not be perfect. While in Banff National Park this summer, I wanted to revisit a well-photographed location I had been to in the past but had never felt really satisfied with my results -– the Vermillion Lakes Road with views to Mt. Rundle. This spot is often crowded with photographers, but my shots seemed to look the same each time. However, I was determined to get a more impressive shot in that location. The light was terrible when I arrived –- overcast and very grey. I pulled out my Singh-Ray I-Ray filter, mounted it on the 16-35 f/4 lens on my Nikon D70 and shot the image (at top of this story) of Vermillion Lakes with Mt. Rundle in the background – all of a sudden, I had a fresh take on a place that has been, as some may say, over-photographed.
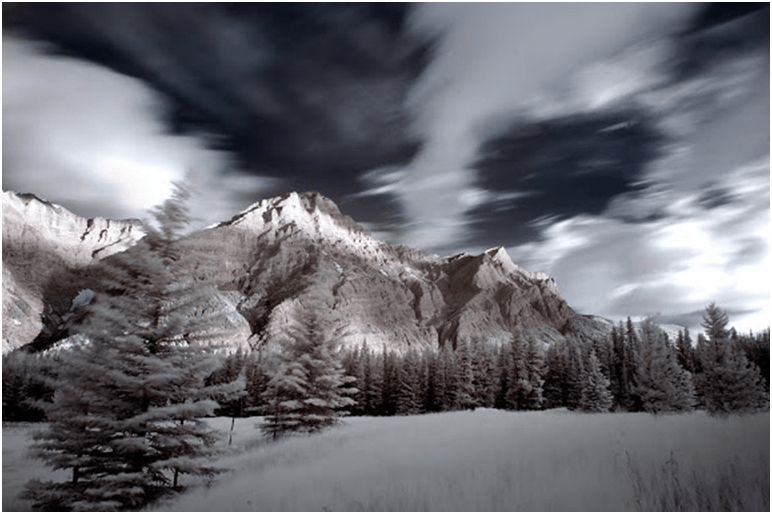
Often, I will be shooting a sunrise or sunset with my regular gear and, before I move to a new spot, I will bring out the I-Ray and my D70 to see what influence infrared light has on the scene. In the case of this photo of Mt. Kidd, I was just wrapping up an awesome morning shoot when I again grabbed the I-Ray, my Nikon 16-35 f/4, and my D70 to see what would happen. I was pleased with the result.
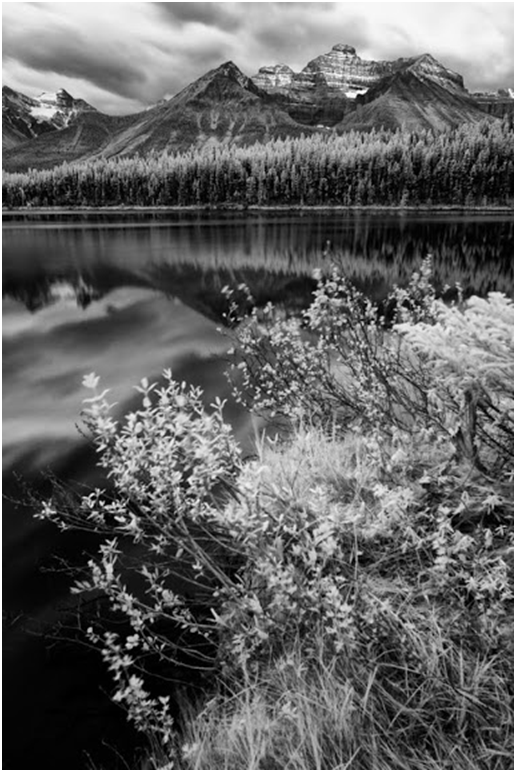
The same situation occurred this past fall when the light was just not cooperating. A group of us had gone out for sunrise but the sun was nowhere to be found. I pulled out my IR kit and shot this image of Hector Lake in Banff National Park. I was shocked to see how, even in tough light, the I-Ray brought out the textures in the scene.
I continue to use this filter in many situations where I feel an IR interpretation could be interesting — and learning that I can often use this filter in situations where I might previously have put my camera away. The main advantages I find with the I-Ray are its ease of use and its continued success at creating impressive images. Once I set the white balance and the basic exposure, it’s just a matter of framing the shot and putting the filter on to get amazing IR results. I’m still surprised at the photos I get with this filter on my unmodified D70. Of course, more current cameras may need some modifications to use this filter but the D70 works great.
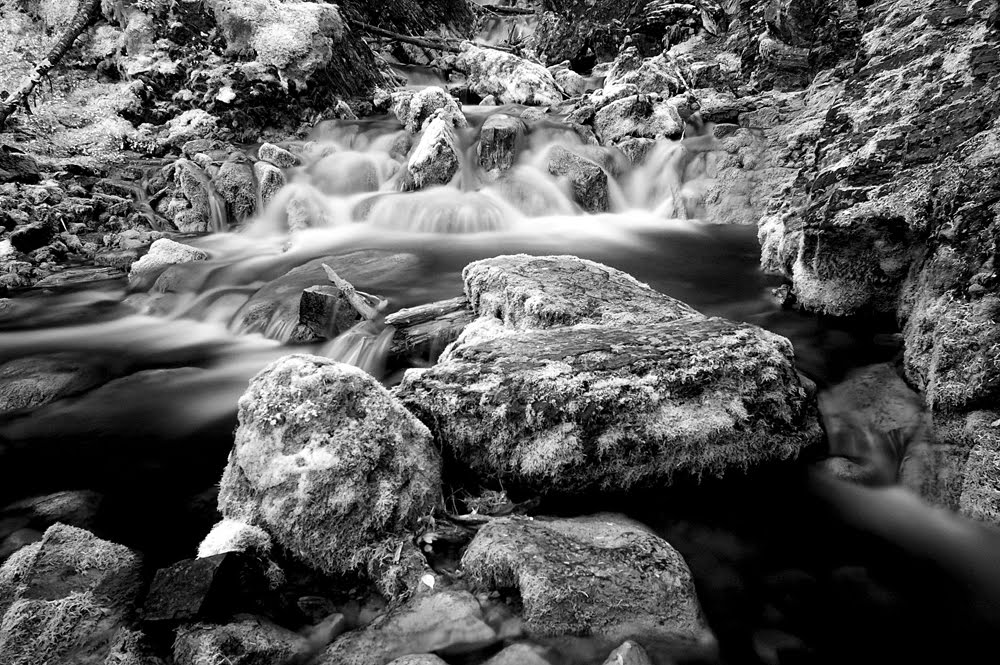
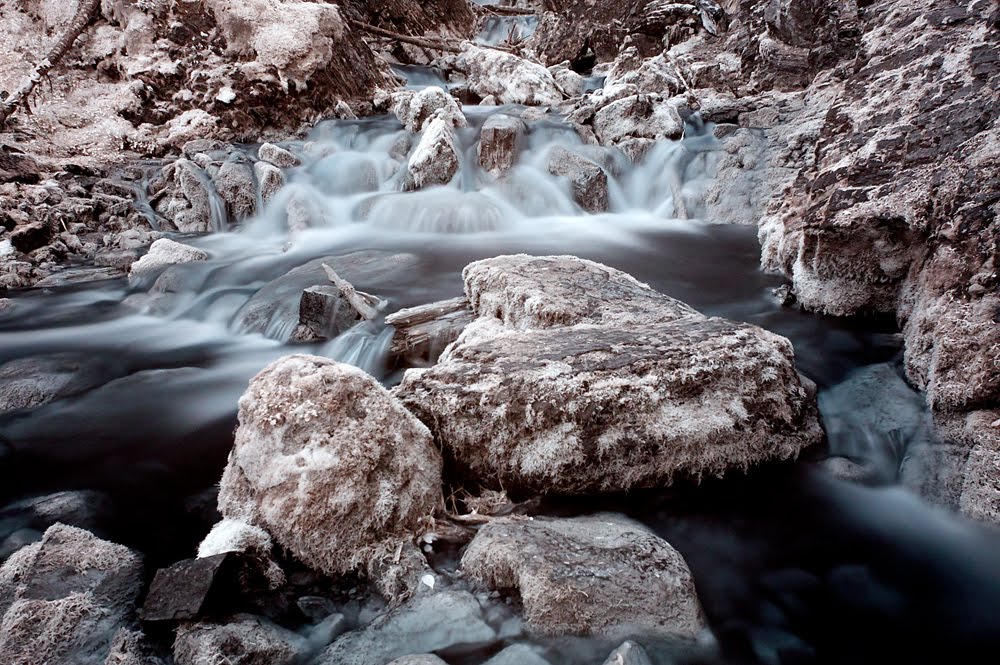
Another spot I’ve visited twice now was Sarrail Falls in Kananaskis Country. This location is very shaded so the intense moisture and lack of sun cause it to be entirely covered in moss. I pulled out my IR kit and shot away. In this case, both the IR and the colour versions turned out well, and I still can’t decide which one I like best.”
