I recently returned from a week in South Dakota and it was an exhilarating, wonderful experience. I’d just switched to Singh-Ray 4×6 inch Galen Rowell neutral density grads from the “P” size, so I was looking forward to trying out these larger filters with my usual hand-holding technique.
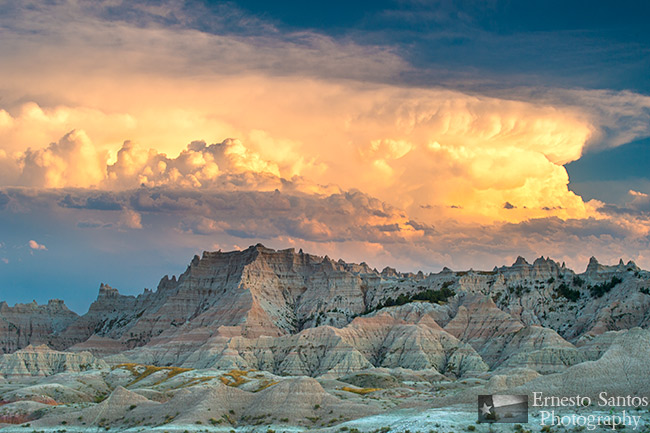
Here is how I approach hand-holding ND grads; it’s quite an easy process, and best of all, it obviously doesn’t require futzing around with a bulky filter holder. I often stack up to three ND grads and use them with the hand-holding method with no ill effects to my photographs. As a matter of fact, I think it’s faster and more efficient than using a holder. You can even, with some practice, stack them so that the transition lines are staggered and not lined up to address different light levels in the scene you are capturing.
So, once I determine what strength filter (or filters) I want to use, I’ll stack them as needed, if using multiples, and then use a “pinch hold” on the bottom right corner using the thumb and forefinger of my right hand. I’ll then look through the viewfinder of my camera and watch as the filter is placed over the lens. You should be able to see the darkened portion of the rectangular filter easily in the scene.
Shooting landscapes, I’ll be using a large aperture number (f/11 or larger) and the mirror lock-up setting of my camera’s shutter release. This is important to note since what I am going to recommend next is best started before you trip the shutter. The combination of the slower shutter speed due to the larger aperture number setting and the mirror lock up delay gives me time to regulate oscillating the filter up and down very slightly over the lens opening. I start the up-and-down oscillating motion of the filter before I press the button of my remote shutter release so that by the time the shutter actually opens my movements are smooth and controlled.
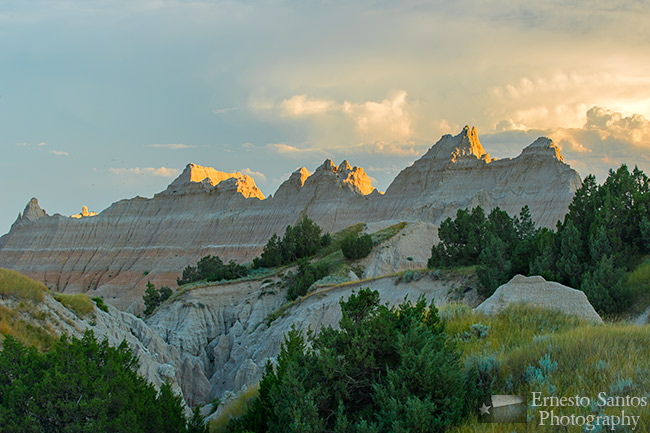
The result of all this filter shimmying up and down is a very smooth exposure transition from the lighter sky to the darker terrain/foreground, hiding any evidence that a grad filter was used. This technique works exceedingly well, especially when using hard-stop ND grads on a scene where there are jagged peaks jutting out into a beautiful sky.
Sometimes when out in the field, I’ll come across an interesting subject where my preferred interpretation of it is to leave just a small portion of the sky at the top of the frame. Or it could be that a lighter band accentuates a dominant shadowed element in the frame. In these instances I tend to tell myself, “Heck, don’t bother with the ND grad, just shoot the scene with bracketing and move on.” If my brain is engaged at the time, I’ll come to my senses and pull out my filter pouch. Every time I have decided to use my ND grads in any situation I’ve NEVER regretted it, they ALWAYS work as advertised. Now, ask me how many times I’ve regretted bracketing only, finding out later at home that a good digital blend was not possible, thus losing an otherwise nice image?
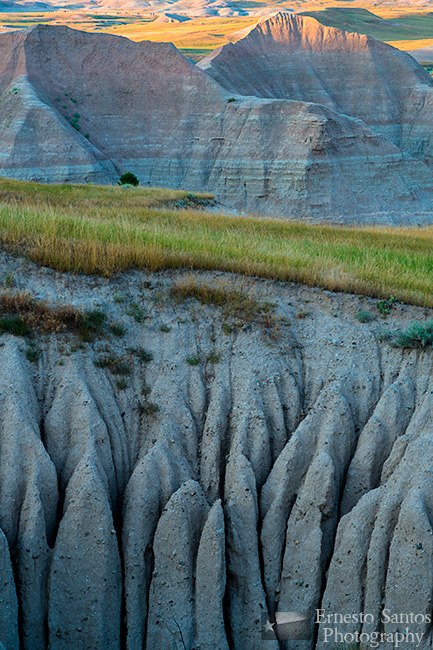
I won’t lie; I use HDR in my photography as well, but only when the circumstances assure me that I’ll get a high-quality image. One of the banes of HDR software processing is the ghosting of moving objects from frame to frame. Sure, the programs can do a great job of eliminating single objects that move into the frame and out, but not so good with constant elements that sway. I’m talking about grasses and foliage blowing in a stiff wind, that sort of thing. There is still no effective algorithm to correct the excessive blur you are apt to get when shooting for HDR outside, in windy conditions, in foliated areas. Here is where I always pull out my Singh-Ray ND grads. By using grads you shoot one image, hopefully minimizing the blur of blowing plants.
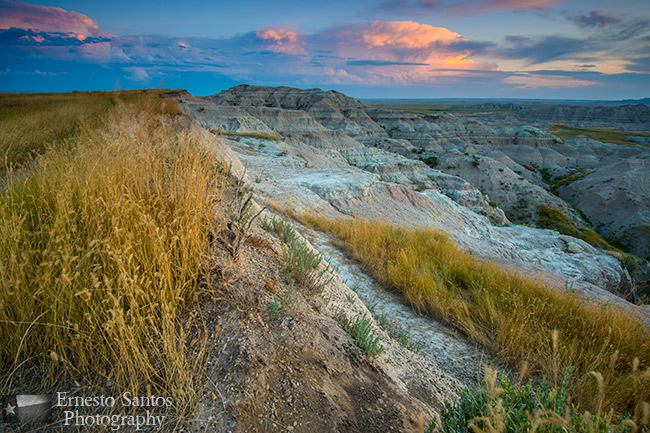
If I were to pick two filters that are quintessentially the mark of the outdoor photographer it would have to be the graduated neutral density filter and the polarizer. While packing for our trip I was not aware that we were going to visit a beautiful place called Spearfish Canyon in South Dakota. I didn’t think to bring along my Singh-Ray Vari-N-Duo variable neutral density filter because I knew that the Badlands probably didn’t have a lot of running water. Well, Spearfish Canyon does, and they have a number of gorgeous waterfalls, most notably Rough Lock Falls.
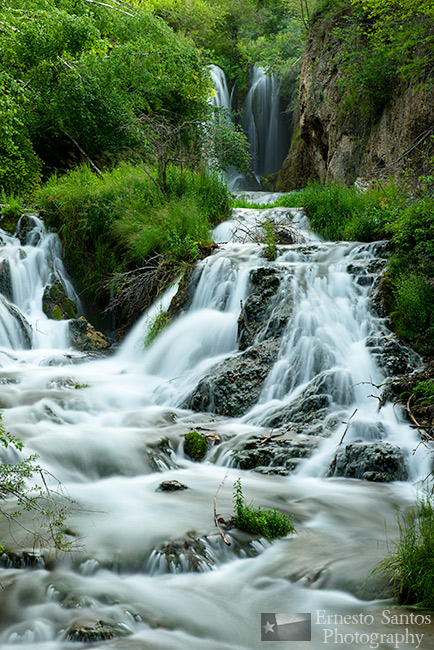
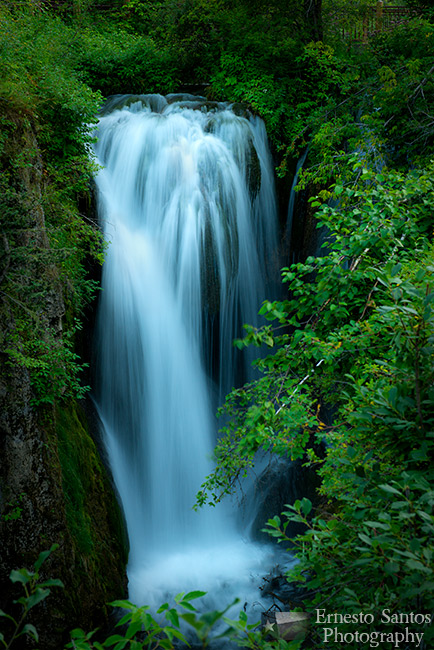
Fortunately, I did bring along my Singh-Ray warming polarizer and my ColorCombo polarizer. In a pinch, the warming polarizer alone was enough to enhance the cascading waters of Rough Lock Falls. While it is a LB (Lighter Brighter) version the polarization was enough to give me just enough extended exposure time to blur the moving water for a more pleasing effect in both of these images.
With all the advancements today in the digital realm related to photography and image processing, many, mistakenly, think that the days of shooting images with analog filters is a thing of the past. Nothing could be further from the truth. While digital manipulation is here to stay and it is a great tool for the photographer, it cannot replace the advantage of getting it right, in the camera, in the first place.
When you start with an image that is of the highest quality and is as near as possible to your final vision, the end result will always be superior to relying solely on software to get you there. How does that old computer adage go? Garbage in, garbage out?
