

Tip #6 – Auto ISO
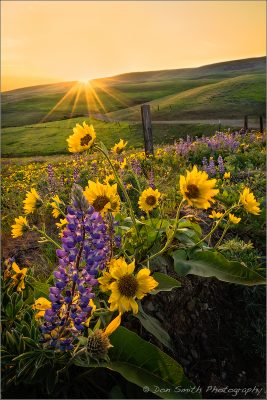
Lupine and Balsamroot against setting sun, Columbia State Park, Dalles Mountain Ranch, Washington. Sony a7R, Sony/Zeiss 16-35mm, f/22, 1/8th, Auto ISO @ 640.
Most new digital cameras are now offering Auto ISO. I find, when photographing wildflowers and fighting a relentless breeze, that this feature can save the day and really allow me to concentrate on my composition.
I first tried this feature last March in the hills of southern Washington. I was working on a sunset shoot with some Balsamroot and Lupine. I had envisioned catching a sun star as the sun lowered on a nearby hill.
Opting for f/22, I found that I could time the lulls in the breeze and shoot between 1/5th – 1/15th second, but as the sun lowered, so did the intensity of the backlight. I finally decided to lock-in my shutter and aperture and just let the camera choose the ISO to complete the exposure.
As you can see (above) it did an awesome job and I caught a break where the flowers momentarily halted for me.
Tip #7 – Dealing With Harsh Light
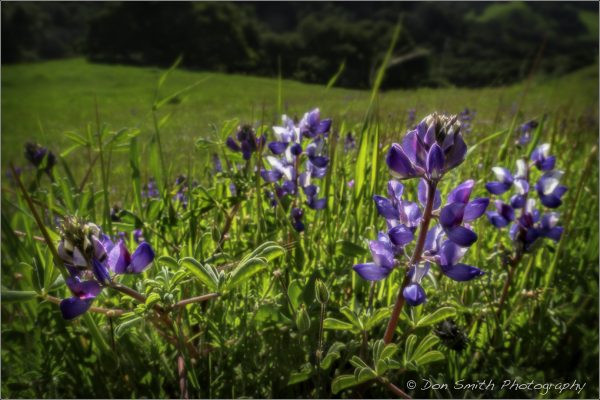
Spring Hills and Wildflowers, Gabilan Mountains, California. Sony RX100 IV, f/11, 1/125th, ISO 200.
Let’s face it, there are times that we are all out in nature under less-than-flattering light. This past Easter Sunday, my wife Beri and I decided to hike the hills near the Mission town of San Juan Bautista.
For times like these, I always take along my Sony RX100 IV compact camera. We hiked over 6 miles on this clear-sky afternoon. On the way back down, I spotted some lupine just off the trail.
My goal was to shoot the hillside but the light was extremely harsh – to say the least. Thus, I found an area that I could get a low angle and backlight (put the sun behind the flowers). I also was fortunate to be able to place the lupines against a dark grove of oaks.
Backlighting is a great way to soften the harshness and allow the color of the flowers to really pop.
I’ll admit, this image needed some help in post-processing and that is where the cool plug-in filters from On1 come in handy. This image was helped along after basic adjustments in Lightroom CC 2015 with On1 Effects > Dynamic Range + Fall Color + Sunshine + Glow + Vignette. I masked various areas to allow each plug-in to work its magic without a global affect.
Tip #8 – Working With Macro

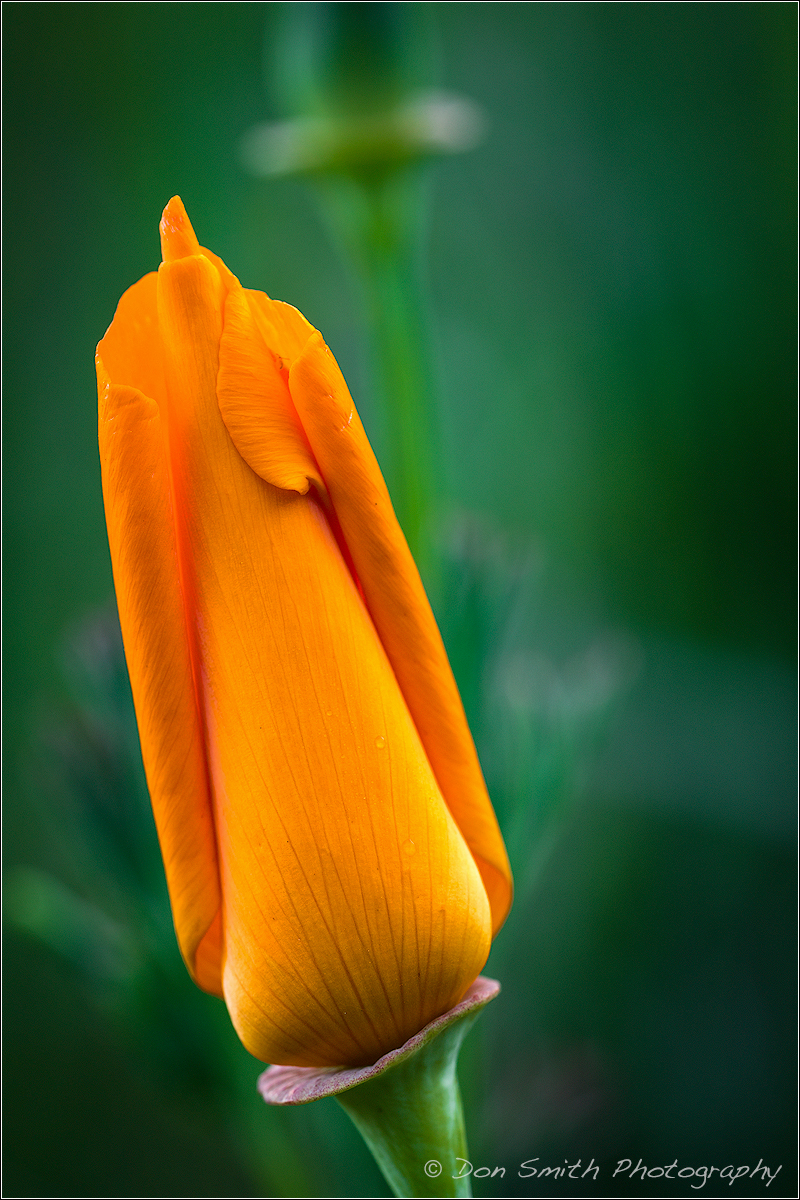
A young California Golden Poppy, San Benito County, Southern Santa Clara Valley, California. Sony a7R II, Sony 90mm Macro, f7.1, 1/8th second, ISO 100.
Of course no discussion of wildflower photography would be complete without a mention of macro. Simply put, I love macro but it can become cliche very quickly.
To personalize it, I make sure I place my camera at least at eye-level for most of my macros and sometimes I’ll go really low and get underneath a flower. To do this, you must have a tripod without a center column to allow for flattening of the legs.
For this image of a very new poppy, I was lying prone on a hillside. Once I spot my subject, my next thought is to find a complimentary and non-distracting background. For this image, the blurred background of a neighboring poppy along with the out-of-focus grasses allowed this little guy to be the star of the show.
It is important to watch for any bright areas that could draw the viewer’s eye off the poppy. This image was captured near sunset on the shady side of the hill and this little poppy decided to fold in its petals and call it a day!
NOTE:There are times if I want to get really close, say, just the edge of a petal, that I will use extension tubes with my macro – it is very cool but requires extra attention to focus.
Tip #9 – Working With Telephotos
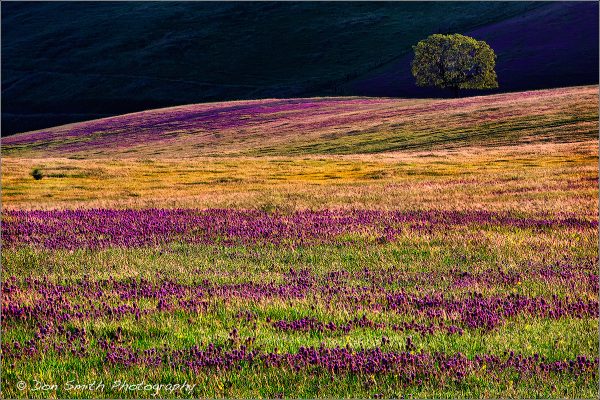
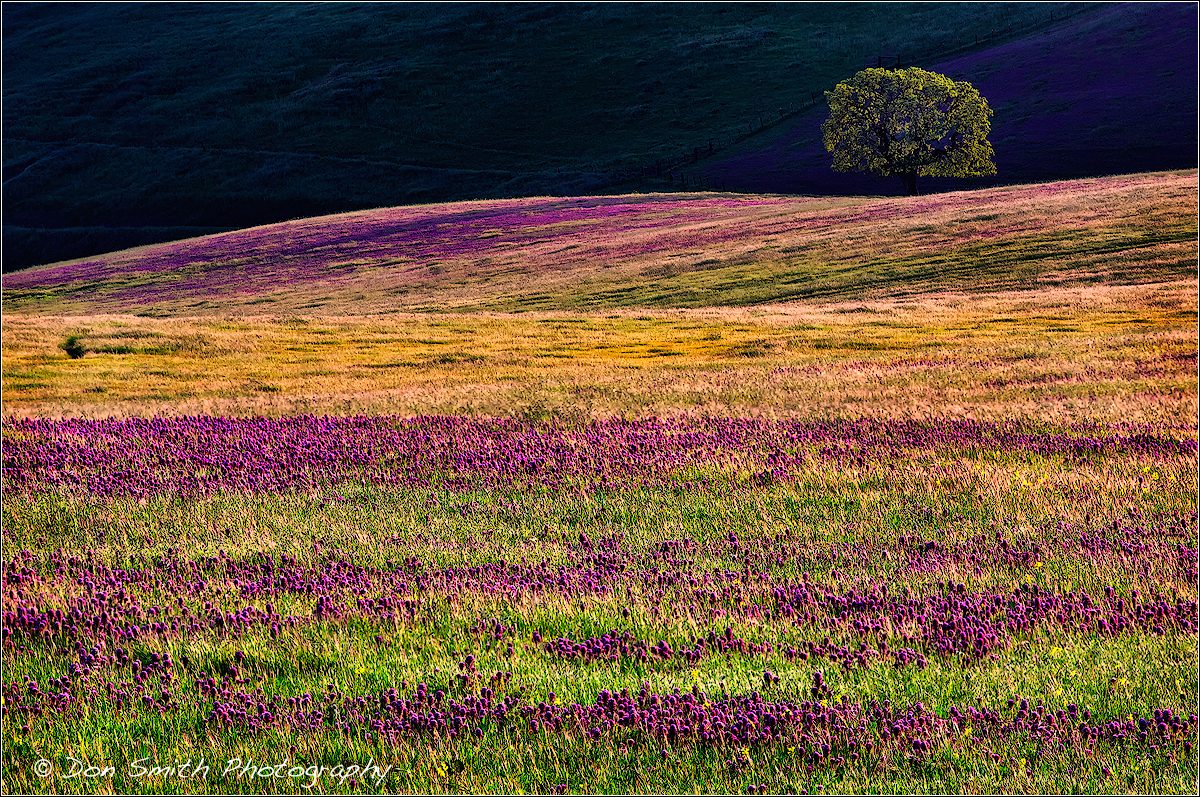
Spring Grasses, Owl’s Clover and California Oak, Gabilan Range, San Benito County, California. Canon 5DMKIII, 200mm, f/8, 1/80th ISO 200, Singh-Ray LB Polarizer. Spring 2013..
The opposite side of the coin from macro is telephoto. I tend to think going long when I find flowers carpeting a hillside and my vantage point is either higher or lower than the wildflowers.I found this scene back in 2013 when the Owl’s Clover was carpeting the local coastal hills near my home. I knew this location would allow me to shoot down over the Clover.
The other part that helped was that I could get almost 90 degrees off-axis to the lowering sun and wait for the warm skimming light to bring out the detail and texture in my composition.
I worked with the placement of the lone Oak against a shadowed hillside as an anchor-point for this scene. My Singh-Ray LB Warming Polarizer added just the look I was going for.
Tip #10 – The Importance of a Polarizer
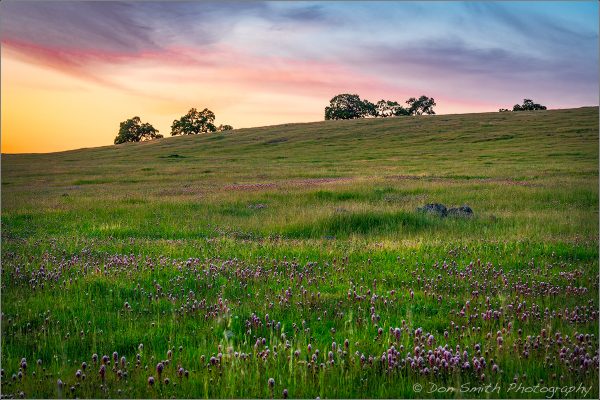
Owl’s Clover and Oaks, Southern Santa Clara Valley, Diablo Mountains, California. Sony a7RII, Sony/Zeiss 24-70mm, f/14, 1.7 seconds, ISO 100, Singh-Ray Neutral Polarizer.
While we are on the topic of polarizers, let me explain my reasoning when and why I choose to use them.
First off, unless I am shooting straight into the sun, a polarizer is on all of my lenses. It is the one filter that cannot be replicated in post. I use a variety: LB’s, CC’s, and Neutral based on the conditions. I only use Singh-Ray filters. My advice is to not go cheap. Why do you want to place a $50 filter on a $2,000 lens?
My main reason for using a polarizer is that it cuts the waxy sheen that is on all foliage and flowers in nature. It has nothing to do with my skies.
In fact, I oftentimes fight my polarizer and/or alter my composition to have it not affect my sky too dramatically – especially when shooting with a wide angle lens. I find most amateurs think sky first while most pros think saturation of the flowers and grasses.
Being armed with the knowledge that virtually everything growing in nature has this sheen, then it becomes common sense that if you can polarize this sheen you will saturate the color!
I hope you have found these 10 tips useful and you can incorporate them into your wildflower shooting. My advice is get out there and have some fun – summer will be here before we know it!