The Singh-Ray Bryan Hansel Waterfall Polarizer
 When photographing waterfalls, one of the popular looks is to make the water look silky. On the waterfall workshops I teach, it’s the most sought-after effect to learn. Photographers love the look and being able to achieve the silky look brings a smile to a photographer’s face. The look also changes the emotional impact of your shot. With the silky look, the image feels more peaceful and calming which is one of the emotions that we experience when visiting waterfalls.
The key to achieving the silky-look effect is to slow down the shutter speed of the camera. Most of the time, I recommend a polarizer and an ND filter to achieve the effect, but most students don’t want to invest in all the filters I recommend right away. They usually bring or buy a polarizer and find that the polarizer doesn’t give a long enough shutter speed except near the ends of the days when it is starting to get dark. Usually on an overcast day, a polarizer will give a shutter speed of somewhere between 1/30th to a 1/8th of a second. And while that might look perfect on a fast-moving waterfall, most of the time those shutter speeds don’t produce the silky look. They produce a look between the action-packed stop-action look and the silky look. That in-between look lacks either the calming emotional impact of the silky look or the powerful feel of stopped action.
 For years to achieve the silky look, I’ve been combining a Polarizer and a 4- x 6-inch George Lepp Solid ND filter when photographing waterfalls. The polarizer boosts the color of the scene and removes reflections, and on an overcast day, the SolidND filter results in a ½-second to 5+-second exposure. That length of time is the sweet spot for waterfall photography; it gives a silky look to the water while maintaining texture and contrast in the whitewater so that the water doesn’t look washed out.
Numerous times when setting up the 4×6 filter on my lens and then screwing on an oversized polarizer I wished for just one 77mm that did everything I wanted. Because I use that combination so often, I wanted to combine both filters into a single filter. The new Singh-Ray Bryan Hansel Waterfall Polarizer does that. It’s a combination of a Polarizer, a Solid ND filter and a little bit of Singh-Ray’s secret sauce.
 Over the past year, I’ve been using a prototype version of the filter. Using the filter couldn’t be simpler. It works the same as any other threaded polarizer. You screw it onto your lens and you turn the ring until you see the effect. You don’t need to set up your slotted filter holder and screw on an oversized polarizer to use this tool. It is simple and stays out of the way.
First time users of polarizers, especially when using cheaper polarizers that don’t show the effect as well, but even with good polarizers, often have difficulty of seeing the effect. Most of the time, people describe using a polarizer as removing reflections (or glare) and adding color saturation and contrast. Many photographers can see the filter removing the reflections and adding color, but some can’t. If you are one of the photographers that can’t see the reflections being removed think about it this way: look for a part of the scene that gets darker as you rotate the polarizer. If shooting water, look for an area that goes over a rock or a smooth area of water. If you rotate the polarizer completely without seeing the effect, look at a different part of the image and try it again. Keep trying until you see an area that gets darker, more saturated or the reflections removed. Eventually, you train your brain to see it as removing reflections instead of getting darker.
 One of the challenges that I’ve noticed with the Singh-Ray Bryan Hansel Waterfall Polarizer is when it starts to get dark some cameras with older or lower-end autofocus systems tend to hunt for focus. You have a couple of options to overcome this. The first is to mount the polarizer to your lens with a XUME Quick Release Magnetic Ring. When the autofocus system starts hunting, the ring allows you to quickly remove the filter and get focus. After you get focus, turn your focus system off so that it doesn’t attempt to refocus, snap the filter back onto the magnetic ring and take the shot. If you use this system make sure to remove the filter from the lens when walking to a new location or shot to avoid dislodging the filter as you walk. Another technique is to turn the filter until it shows minimal effect. This may allow the focus system to work through the filter. Then get focus, turn off the focus system and then turn the polarizer to maximum effect. You can also try to move the focus point and focus on a slightly brighter area of the picture or where there is a stronger contrasting edge. With the newer focus systems, I’ve seldom seen this challenge.

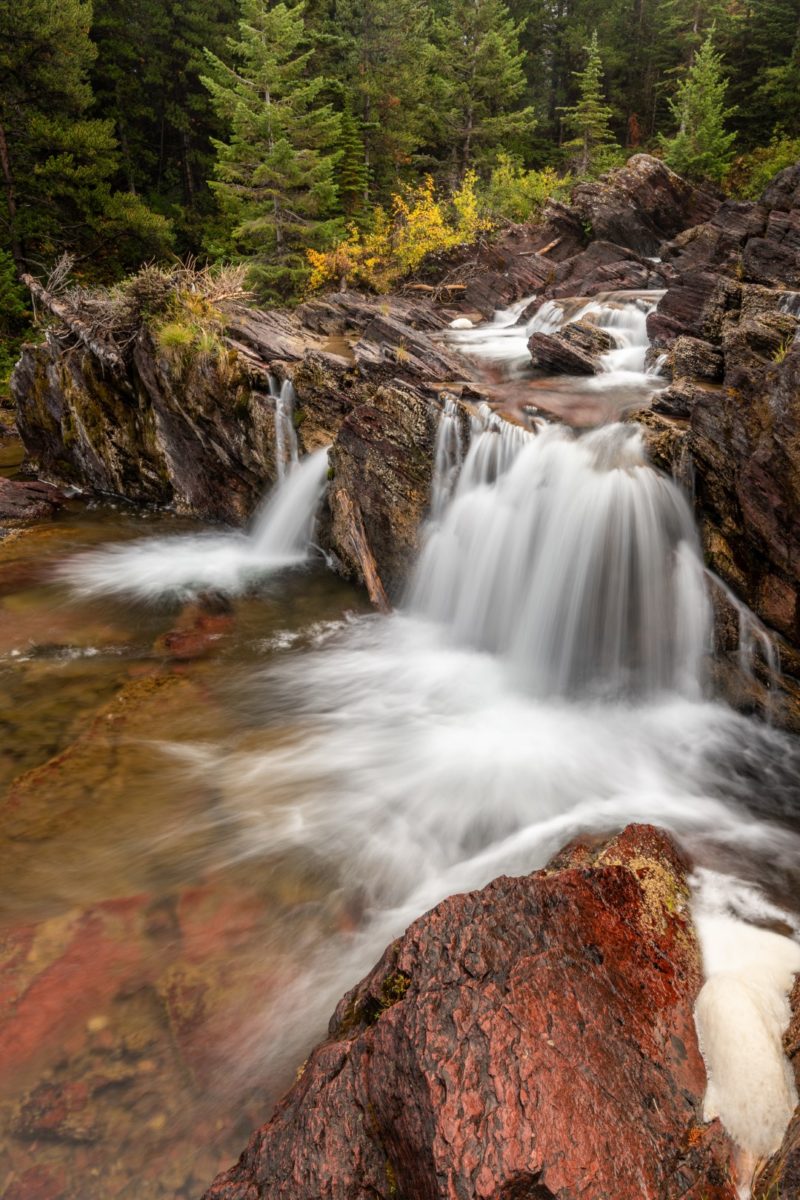
Redrock Falls in Glacier National Park was my favorite falls that we visited during our recent trip. The current water level was perfect.
I used the Singh-Ray Bryan Hansel Waterfall Polarizer to get this shot. It’s so weird to have a filter named after yourself. I’m still not used to it.
I love the Singh-Ray Bryan Hansel Waterfall Polarizer. When Singh-Ray asked me to return the polarizer, I made sure that I had a production version in hand before I put the prototype into the mailer and sent it back. After having used the filter, I can’t imagine living without it.
Quick Tips:
• If you plan on using a wide-angle lens, buy the thin-mount version.
• If it is dark out the camera may have trouble focusing through the Waterfall Polarizer. Try a different focus point, turn the polarizer to the minimum effect or take off the polarizer (I recommend XUME Quick Release Magnetic Rings), focus and then turn off your focus system and take the shot.
• When shooting ultra-wide, only part of the waterfall/river may polarize. Rotate the filter until you get the effect you want.
• Waterfalls shoot best on overcast or rainy days, use the Waterfall Polarizer to add contrast, remove reflections and increase color saturation.
To learn more about Bryan Hansel, visit https://www.bryanhansel.com


