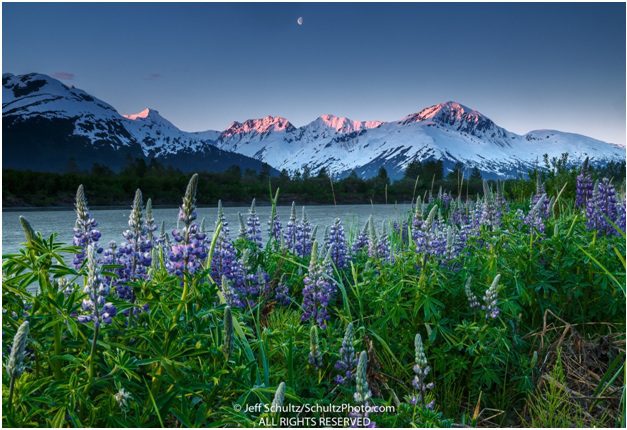
How did I make the image?

Many people love hearing the back story to both my thought process and the science behind how I make some of my images, here is the backstory on the making of this image. This image was shot in late May of 2016, Lupine were plentiful. This year, there are no lupine in this same place a week later than last year. A lot of snow this year I reckon is slowing down the process.
To make this image I scouted the location the day before and reviewed my app “focal ware” to know just where and when the sun would be rising. That’s a VERY important step. This image was shot at 5:05 AM.
I used a Singh-Ray warming polarizer filter and rotated it to have its maximum effect on darkening the sky. To that I added a Singh-Ray 3-stop hard-edge graduated neutral density filter and moved that down to stop just above the lupine. Knowing my “end-game” of wanting everything in focus, I measured the distance from the camera to the closest lupine. Then, using my app “Iperfocale” on my I-phone, I calculated what the hyperfocal distance was, based on my lens focal length and an aperture of f-22 and then manually set the focus distance based on that. I then took a photo in “aperture value”. I looked at the histogram and based on that I found the exposure was correct as is. I then manually set my Canon 600-EX RT flash, which previously I had added a 1/3 CTO (Color Temperature Orange) gel to it, to give just a touch of light. I tested it several times before making the video by reviewing the image on the LCD until I was satisfied it was just adding that little kiss of light I liked. I held up the flash on the light stand so that it would approximate the location of the sun, if the sun were up. I used mirror-lock up and fired the camera with a cable release.

