Typical graduated filters are darkest at one end, and gradually lighten up along the length of the filter. These are essential for any landscape photographer’s kit, and are commonly used when the sun is above the frame, for instance in the late afternoon. They help balance the exposure of a bright sky and a darker foreground scene.
The problem with this filter when photographing sunsets, is that the frame is typically brightest towards the middle, or top third, of the frame, meaning the photographer has to pull the filter down very far to position the darkest part of the filter over the brightest area of the image. The result is a very dark area in the top of the photograph and, overall, a not quite balanced exposure. I have used my standard 3-stop graduated filter in this scenario with mixed results.
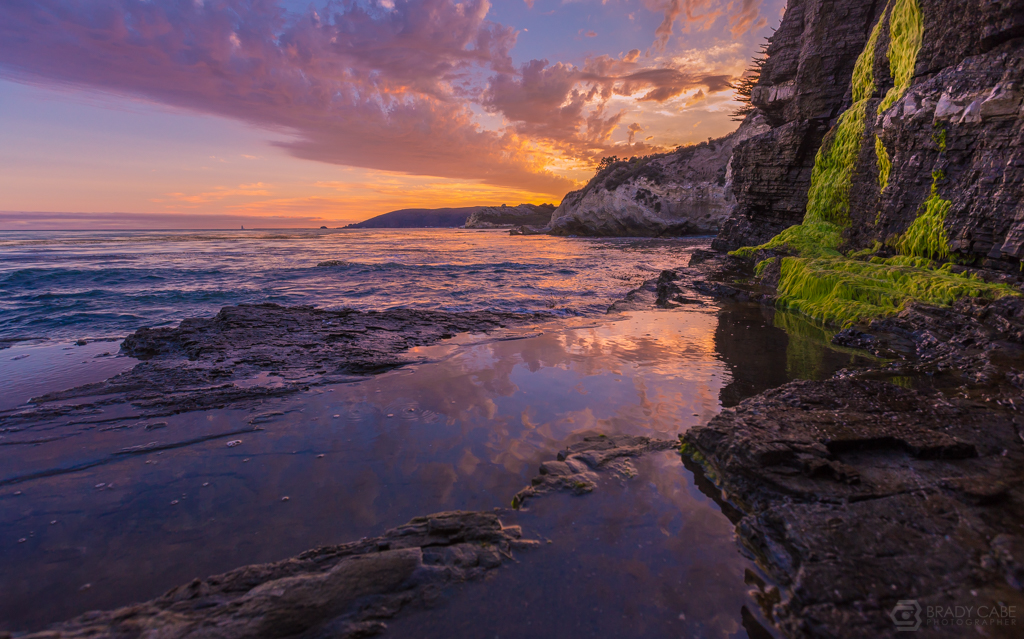
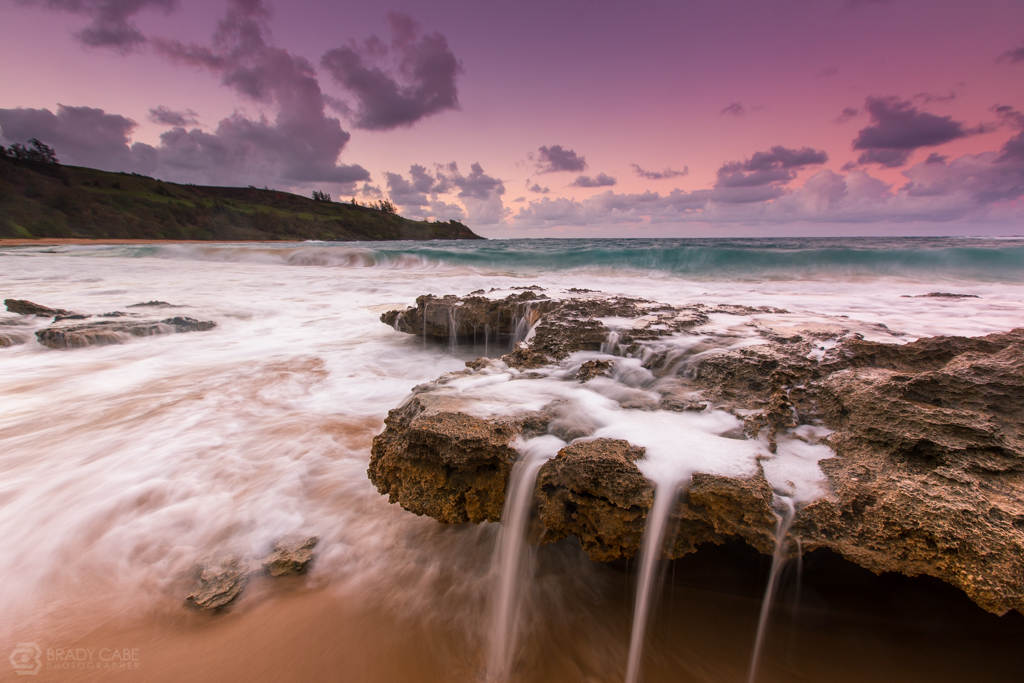
Hint: if you only have a regular 3-stop grad in your kit, the exposure becomes easier to balance after sunset and more so as time lapses. So stick around after sunset and wait for those pinks to come. In the photo above, the sun was obscured by large foreground objects, making the typical grad filter a workable solution.
A reverse graduated filter is a rectangular filter where the middle of the filter is darkest, and gradually fades lighter in one direction while abruptly fading off in the other. This means the darkest area of the filter can be easily positioned over the brightest area of the image. The dark area feathers off into the lower and upper parts of the image, allowing for a nearly even exposure captured in-camera.
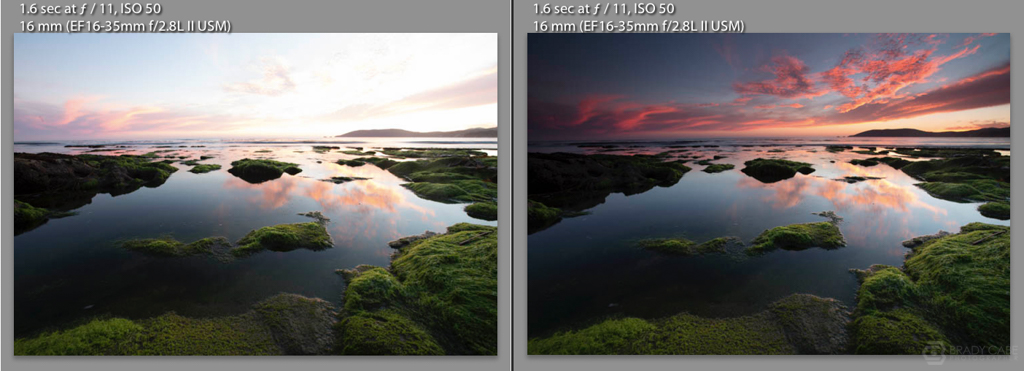
Before and After: 3-stop Singh-Ray Reverse Grad in Action
In the sample images below, we can clearly see the benefit of using this filter. The photo on the left was taken with the exact settings as the photo on the right, seconds apart. In both photographs, the foreground is well-exposed. The image on the left has blown out highlights in the sky that are not possible to recover in post-production. I actually tried, just for fun, to fix the sky and the result is not worth posting. The light parts of the sky are simply white pixels with no color data (even though shot in raw), resulting in an unusable image.
The image on the right was captured with my reverse graduated filter in place and, as you can see, offers a well-balanced exposure. There are some dark areas in the photograph that can be easily lightened up without leaving Lightroom.
The Singh-Ray Daryl Benson 3-stop Reverse Graduated ND Filter
The 3-stop Daryl Benson reverse grad I use (FYI, Singh-Ray invented the reverse grad) offers a flawless graduation from center to top, and feathers beautifully on the bottom half, making any necessary correction in post-production appear very natural. A clean, natural, photo-realistic result is always my end goal.
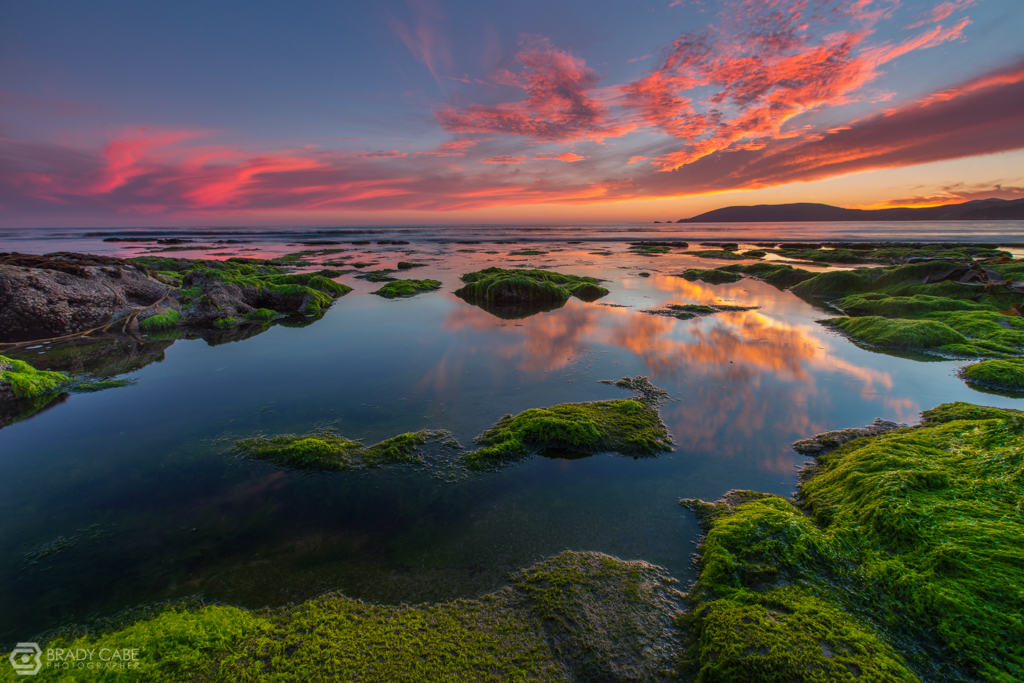
When my Singh-Ray 3-stop reverse grad is used alone, I’ve had a truly color-neutral experience, which makes this filter completely worth the added cost when compared to competing filters. Since using this filter, I have avoided many annoying color correction scenarios I’ve previously experienced with filters from other manufacturers. None of these photos, even the final image, were color-corrected, and you are seeing the white balance straight out of camera; shot in auto white balance.
Conclusion
So there you have it. If you photograph a lot of sunsets, especially seascapes, I can’t recommend this filter enough. There are a few other reverse grad filters on the market, but if you can scrounge up the pennies, I’d highly recommend you purchase the Singh-Ray 3-stop Daryl Benson reverse grad and be confident you have the best one. If you’d like to learn more about using filters to enhance your landscape images, contact me about one-on-one sessions or visit my website at the link below.
Enjoy the sunset!